Metal AM Cost Drivers: Powder, Machine, and Finish

Metal AM costs depend on material, machine time, finishing, and volume. This guide breaks down the primary variables affecting your final invoice and shows how to structure a clear RFQ so you can compare quotes fairly and control your additive manufacturing budget.
- Material choice and quantity are the primary fixed costs in metal PBF.
- Machine time and post-processing steps determine the variable costs per part.
- A well-defined RFQ with CAD files and tolerances prevents costly rework and delays.
- Comparing quotes requires separating material, processing, and finishing line items.
What drives the price of a metal printed part
The final invoice for a metal AM part is not a single number. It is a stack of line items that build on one another. The biggest variable is usually the material. In PBF processes, the powder itself represents a significant portion of the material cost. A high-alloy titanium or nickel powder costs far more than standard stainless steel or maraging steel. If you select a material based on strength alone without checking the powder price per kilogram, the first cost of the job can be higher than expected.
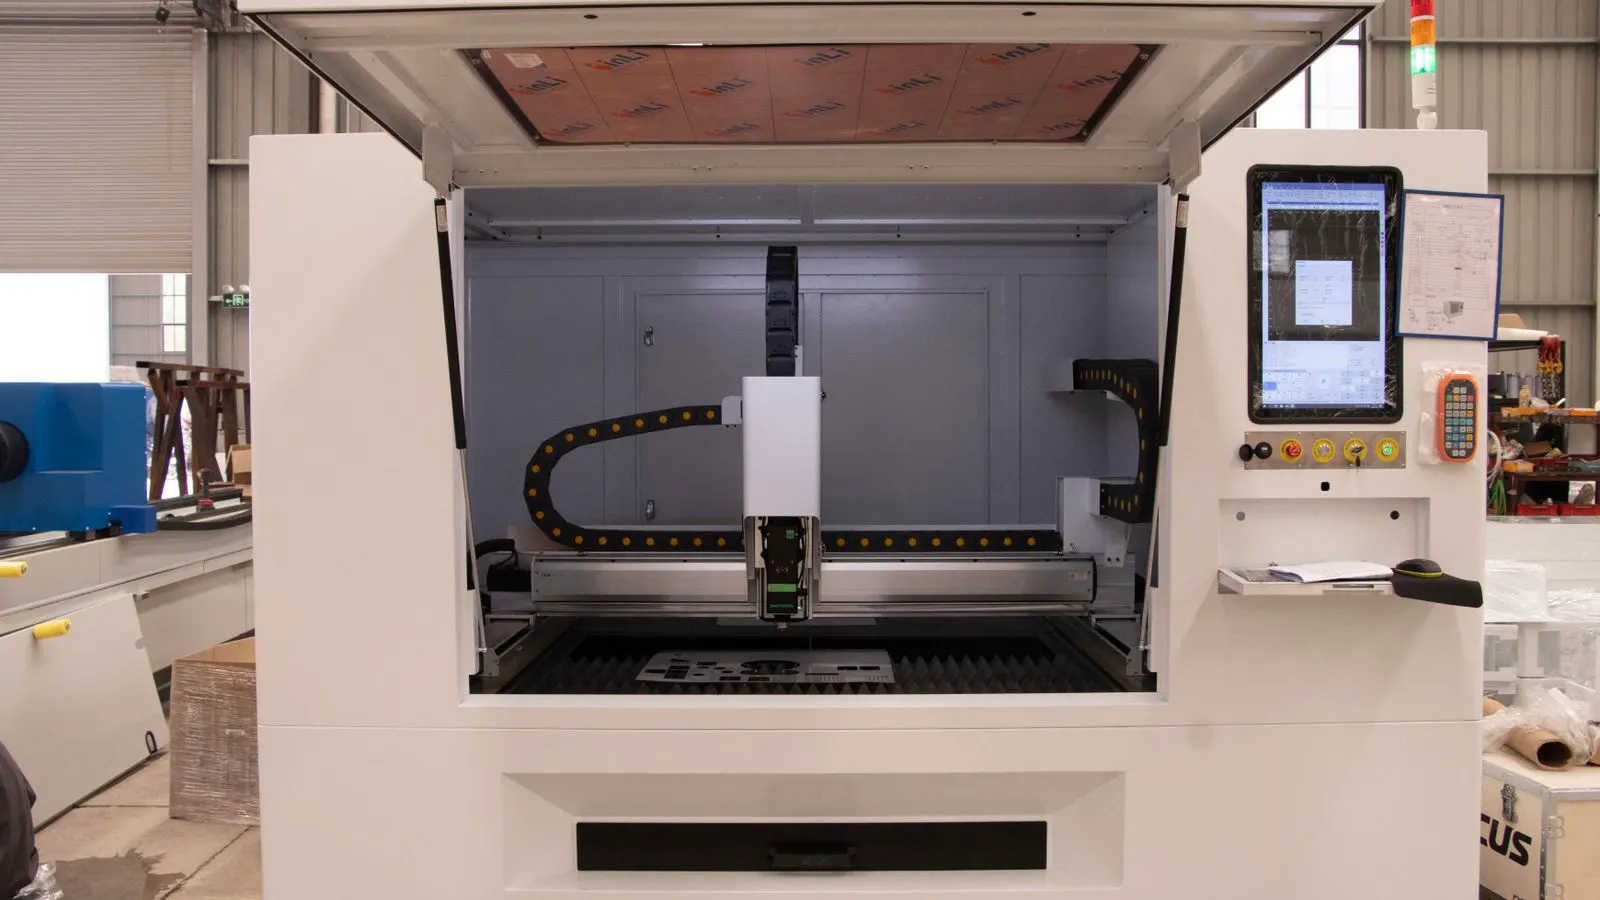
The second major driver is the machine. Different powder bed fusion machines have different build volumes, powder consumption rates, and energy demands. A larger build volume allows you to nest more parts, which lowers the cost per part. A smaller machine may be cheaper to run per hour but forces you to split a large order into multiple jobs, which increases total machine time and labor.
The third major driver is what happens after the part leaves the machine. Raw PBF parts are porous, have residual stress, and carry support structure. They are rarely ready for function. Cost comes from removing supports, heat treatment, machining, and inspection. If the finish requirements are vague, the supplier must guess. That guesswork often leads to a higher quote to cover the risk of extra work.
How material choice affects the metal AM budget
Material selection is the first decision that locks in a large share of the cost. Standard stainless steel powders are generally the most accessible and cost-effective options for many applications. They are widely available and have established supply chains. However, if your application requires higher temperature resistance or specific corrosion resistance, you must move to specialized alloys.
Each step up in material specification changes the economics. A superalloy powder may cost several times more than a base steel powder. That price difference multiplies across the entire job. For a small prototype, the absolute cost difference might be manageable. For a production run of hundreds of parts, the difference defines the project budget.
Powder reusability also matters. Not all powder is fully recoverable. Some fractions may need to be sorted or discarded, which affects the net consumption rate. When evaluating a material, look at the total cost of the powder over the life of the program, not just the initial purchase price.
How machine time and build volume shape PBF pricing
Machine time is a direct cost. Every hour the build chamber is active consumes energy, wear on the laser or electron beam, and operator attention. The cost per part drops as you pack more parts into each build.
Build volume is the key lever here. If you have ten small parts, you can nest them into one build. If you have ten large parts, you may need five separate builds. The cost per part is not linear. It depends on how efficiently you use the build space. A supplier will quote based on the number of builds required, not just the number of parts.
There is also a cost to changeovers. Moving from one material to another, or from one alloy to another, requires cleaning and calibration. This time is billed as part of the job. If you can standardize your material requirements across multiple projects, you reduce changeover costs.
The machine type also influences the quote. Some machines are optimized for speed, others for precision. A part that requires very fine features may take longer to print on a high-precision machine. A part that can tolerate slightly coarser features might print faster on a different system. The quote reflects the specific machine used.
How post-processing and finishing change the final cost
Post-processing is where many buyers underestimate the cost. A raw PBF part is not a finished component. It is a dense object with a lattice of support material and surface roughness.
The first step is support removal. This is often done with mechanical mills or automated systems. For complex geometries, manual work is required. The second step is heat treatment. Many alloys require stress relief or solution treatment to achieve the correct mechanical properties. This step adds time and energy.
The third step is machining. If your part has critical flat surfaces, threads, or tight tolerances, you will need secondary machining. The more complex the geometry, the harder it is to machine. A part that is easy to print but difficult to machine can end up more expensive than a simpler part.
Finishing also includes surface treatment. Some parts need anodizing, plating, or coating. Each of these steps adds a line item. When writing your RFQ, specify the finish requirements clearly. Do not assume the supplier will know what you need. A vague request for “good surface finish” leads to a higher price because the supplier must include extra work to ensure satisfaction.
How to write a clear RFQ for fair comparison
A poor RFQ leads to a poor quote. If your request is vague, the supplier must add a margin for uncertainty. They will quote for the worst-case scenario to protect their profit.
Start with the CAD file. Provide the neutral format, such as STEP or IGES. Do not send native files from your design software. This prevents version errors and ensures the supplier can import the geometry correctly.
Specify the material. Do not just say “steel.” Choose the grade. If you have a preferred grade, state it. If you are open to alternatives, say so. This allows the supplier to suggest a more cost-effective material if it meets your requirements.
Define the tolerance. State the critical dimensions and the tolerance for those dimensions. If you do not define a tolerance, the supplier will apply a general tolerance that may be tighter than you need. This increases the cost.
State the finish. Describe the surface requirement. If you need a specific roughness value or a specific coating, list it. If you need inspection, specify the method and the acceptance criteria.
Provide the quantity. State the number of parts. If the quantity will change, say so. This helps the supplier plan the builds and labor correctly.
How to compare quotes fairly
When you receive multiple quotes, do not just look at the total price. Break the quote down into its components. A fair comparison requires you to separate material, machine time, and finishing.
If one supplier includes post-processing in the total price and another lists it separately, you must adjust the numbers to make them comparable. A lower total price may hide a high finishing cost. A higher total price may include value-added services that you need.
Check the lead time. A cheaper quote with a long lead time may not be useful if you need the part for a deadline. The cost of waiting is often higher than the cost of paying a premium for faster delivery.
Ask about the process. If a supplier uses a different machine or a different powder, the quality may differ. A lower price may come from a less precise process that requires more rework.
Review the assumptions. Every quote is based on a set of assumptions. If you change the quantity or the material, the price changes. Make sure you understand the basis of the quote before you accept it.
Cost driver table for metal AM jobs
| Cost Driver | Description | Typical Impact on Invoice |
|---|---|---|
| Material | Powder cost and consumption rate | High. Can be 40-60% of total cost |
| Machine Time | Build volume and hours required | Medium to High. Scales with part count |
| Post-Processing | Support removal and heat treatment | Medium. Adds 15-30% to cost |
| Finishing | Machining and surface treatment | Variable. Depends on complexity |
| Inspection | Quality checks and reporting | Low to Medium. Fixed cost per job |
How to control your additive manufacturing budget
Controlling the budget starts before you send the RFQ. Review your design for manufacturability. Can you reduce the part count by combining components? Can you remove features that do not add function? Small design changes can have a large impact on the final cost.
Standardize your materials. If you use the same alloy across multiple projects, you reduce changeover costs and simplify the supply chain. This also makes it easier to compare quotes between projects.
Define your quality requirements early. Do not wait until the part is in hand to decide on the tolerance. A clear specification prevents rework and delays.
Communicate with your supplier. If you have a tight budget, say so. Ask for options. A supplier can often offer a lower-cost alternative that meets your core requirements without the premium features.
Track the cost per part over time. As you scale production, the cost per part should drop. If it does not, review your process. There may be an opportunity to improve nesting, reduce waste, or switch to a different material.
How lead time affects the metal AM cost
Lead time is not just a delivery date. It is a cost factor. If you need the part quickly, you may pay for expedited service. This can include priority machine time, extra labor, or air freight.
The lead time also affects the material cost. If you need a rare alloy, the lead time for the powder may be longer. You must factor this into your project plan.
A long lead time can be beneficial if you can plan your production around it. If you have a long lead time, you can batch your orders and reduce the cost per part. A short lead time forces you to run smaller batches, which increases the cost per part.
When you compare quotes, look at the lead time alongside the price. A quote that is 10% cheaper but takes 50% longer may not be the best option for your business.
How to handle unexpected cost increases
Costs can change during a project. Powder prices fluctuate. Machine maintenance can cause delays. Design changes can require rework.
To handle these issues, include a change order process in your contract. This defines how changes are approved and priced. It prevents disputes and keeps the project on track.
Keep a buffer in your budget. A 10-20% buffer can cover unexpected costs without derailing the project. This is not a sign of poor planning. It is a standard practice in industrial manufacturing.
Review the cost drivers regularly. If you see a cost increase, identify the cause. Is it the material? Is it the machine? Is it the finishing? Once you identify the cause, you can take action to control it.
How to choose the right supplier for cost control
The right supplier can help you control costs. They should have a transparent pricing model. They should be able to explain the cost drivers clearly. They should have a track record of delivering on time and within budget.
Look for a supplier who offers value engineering. This is the process of finding ways to reduce cost without sacrificing function. A good supplier will suggest design changes that can lower the cost.
Check their capacity. A supplier with high capacity can handle your order without delays. A supplier with low capacity may have to outsource parts of the job, which can increase the cost and the lead time.
Ask about their quality controls. A supplier with strict quality controls will have fewer reworks. Rework is expensive. A supplier with strong quality controls will save you money in the long run.
Final thoughts on managing metal AM costs
Managing metal AM costs is a continuous process. It requires attention to the details of the design, the material, the process, and the finish. It requires clear communication and fair comparisons.
The key is to understand the cost drivers. When you know what drives the cost, you can control it. You can make informed decisions and manage your budget effectively.
Start with a clear RFQ. Compare quotes fairly. Track your costs over time. Review your design for manufacturability. These steps will help you control the cost of your metal printed parts.
Frequently asked questions
What is the biggest cost driver in metal 3D printing?
The material is usually the biggest cost driver. The price of the powder per kilogram directly impacts the total cost of the job.
How can I reduce the cost of my metal AM parts?
You can reduce costs by standardizing materials, improving part nesting, and defining clear tolerances and finish requirements to avoid rework.
Why do different suppliers give different quotes for the same part?
Quotes differ based on the machine used, the material selected, the post-processing steps included, and the supplier's overhead costs.
How does build volume affect the cost per part?
A larger build volume allows you to print more parts in a single job, which lowers the machine time cost per part.
What should I include in my RFQ to get an accurate quote?
Include the CAD file, material specification, quantity, tolerances, finish requirements, and any specific inspection or quality standards.